

TERM-CHAT: A command-line chat application
In this article, I will explain how I made a command-line chat 💬 application with Appwrite as BaaS 💽 and python 🐍


Want to know how it works? Check out the demo 📺
Who all worked on it 👩💻
- Ananya Nayak - Ananya Nayak (Hashnode username - @Ananyacodes)
What is term-chat exactly? 🤔
I recently learned Python while working as an intern, and I also learned about the best practices for open-source projects and packaging in Python. This made me think about creating something that could help me improve my skills even more. When I saw the hackathon tweets, I felt motivated to build something cool, but I didn't want it to be too time-consuming since I already had a lot of other tasks to do. After browsing through the app ideas on the Appwrite hackathon page, I decided to create a chat app, actually a CLI chat app. Why? I discovered that I enjoy making command-line tools, and the idea of being able to chat right from the comfort of your terminal sounded cool.

The goal of this project 🥅
I believe a chat app like this could be helpful for development teams to collaborate and exchange ideas without needing to switch tabs or use different communication tools.
Many developers, including myself, often appreciate tools that make our work easier. Building a chat app like this is like adding the perfect finishing touch to our workflow. So, it seemed like a great idea to undertake this project and bring it to life.
Tech stack involved ⚒️
Below are the essential tools and services that I used to create this project:
Python and Poetry
Typer python package for establishing the core CLI
Git and GitHub for tracking code changes
Pytest for adding some e2e tests
GitHub Actions for automation
Pre-commit hooks for linting checks
Appwrite Cloud for services like:
Authentication and
Database
Let's code 👩💻
First, I created a GitHub repository to manage my project. Then, I cloned the repository onto my local machine to begin writing code. As it was a Python project, I started by implementing some essential components such as:
I chose to use Poetry for managing dependencies and package information. To get started with Poetry, you need to install it first on your machine following the official docs. Then to set up the project, you need to create a "pyproject.toml" file, which is similar to the setup.py file if you're familiar with it. Inside this file, you list all the dependencies required for your project. After specifying the dependencies, I ran the command
poetry installto install everything. This command also generated "poetry.lock" file for us, which helps ensure consistent installations of dependencies across different environments.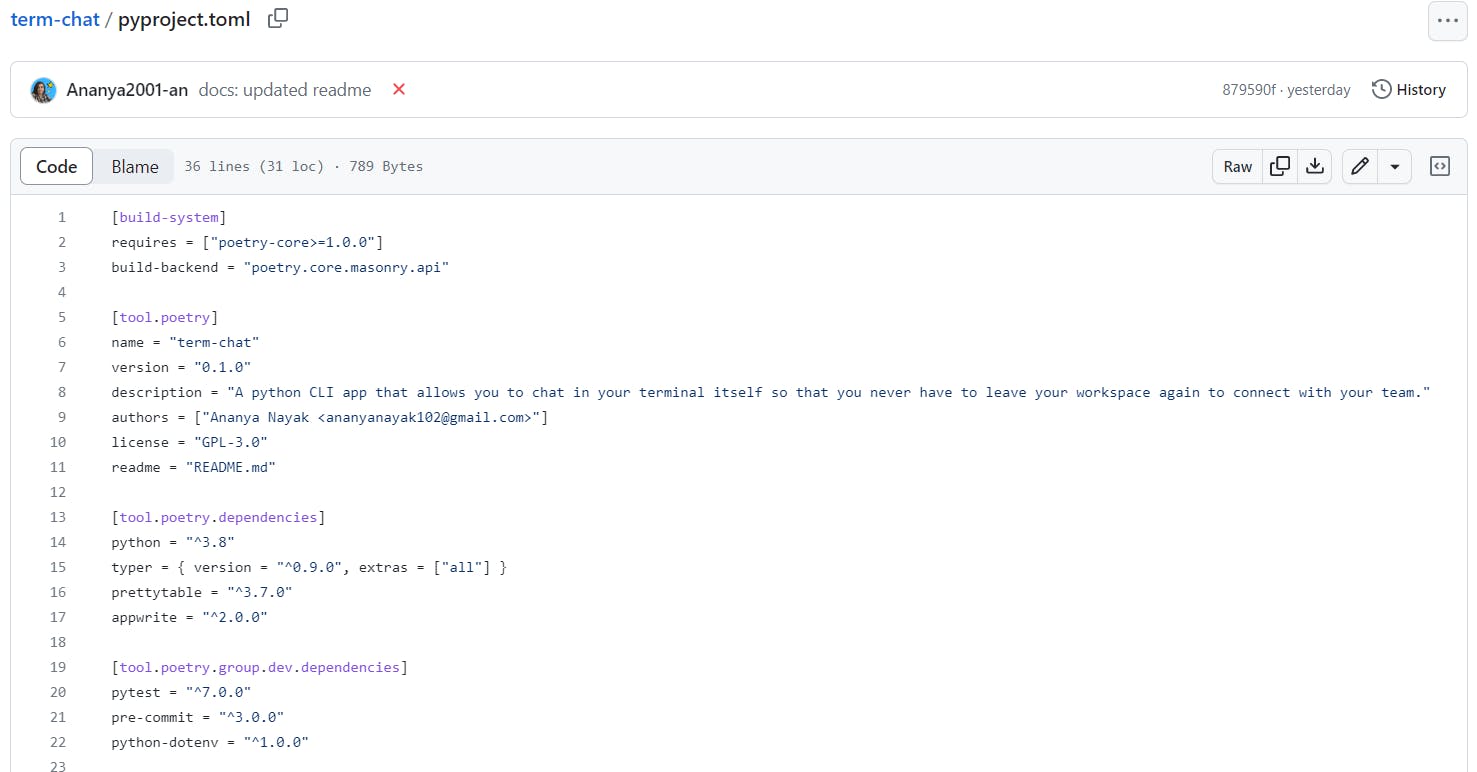
I created a folder called "term_chat" where all the code for our chat app is stored. The main file in this folder is "__main__.py", which serves as the entry point to the app. To implement the command-line interface (CLI), I used a popular Python package called Typer. Working with Typer was straightforward :)
To configure our Appwrite setup, I created a dedicated folder for services. At this point, it becomes necessary to use environment variables.
I decided to categorize the commands into three main categories: auth, room, and chat. The auth command has numerous sub-commands such as:
create-user
login and logout
whoami
delete-user
In addition, the "room" command has several sub-commands such as "create," "join," "leave," and "info." Lastly, there's the "chat start" command, which allows you to initiate a conversation within a specific room.
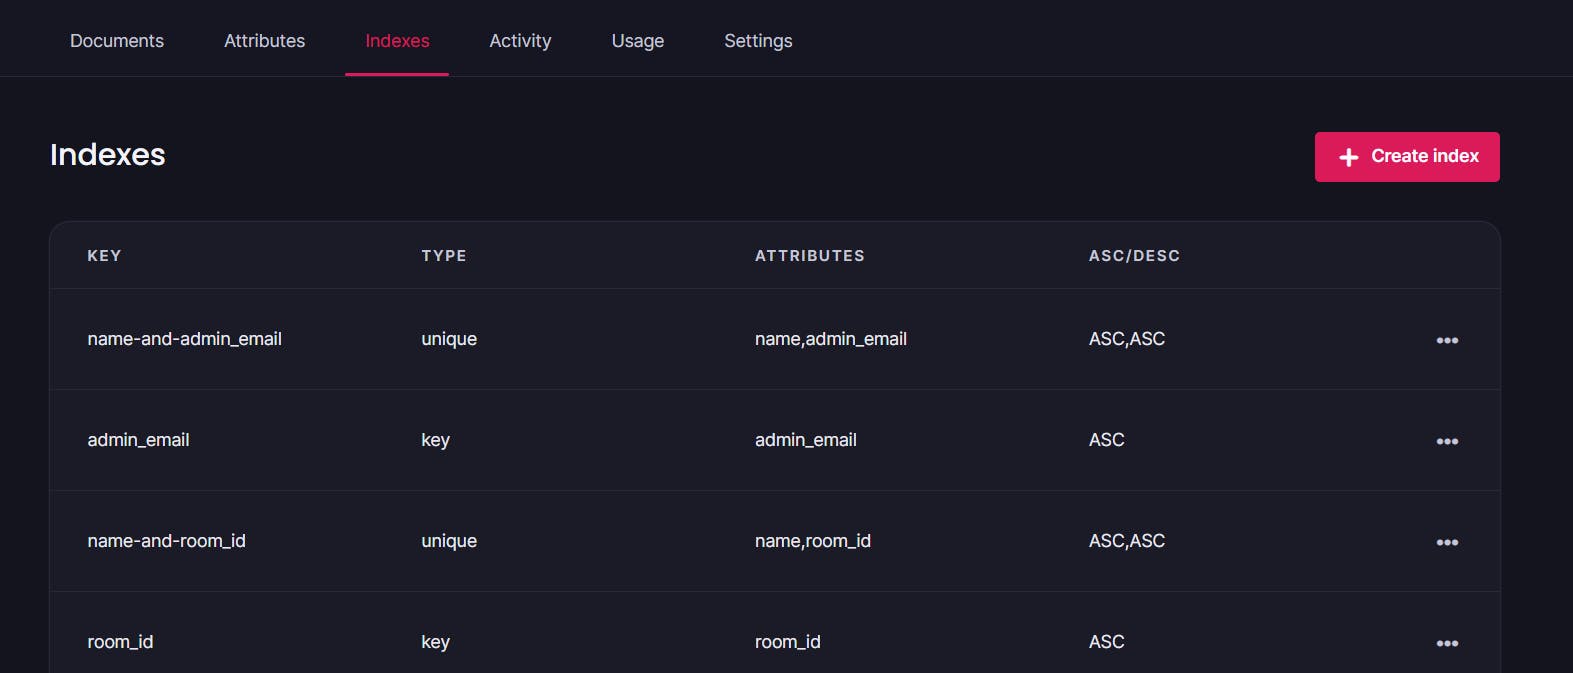
I used Appwrite's authentication service to keep track of users and connected a database to store all the data related to rooms like who is the admin of the room, who are the members, the past messages and more. Using the index functionality I was able to filter out docs based on a combination of keys like getting a room which has this name and is under this admin...
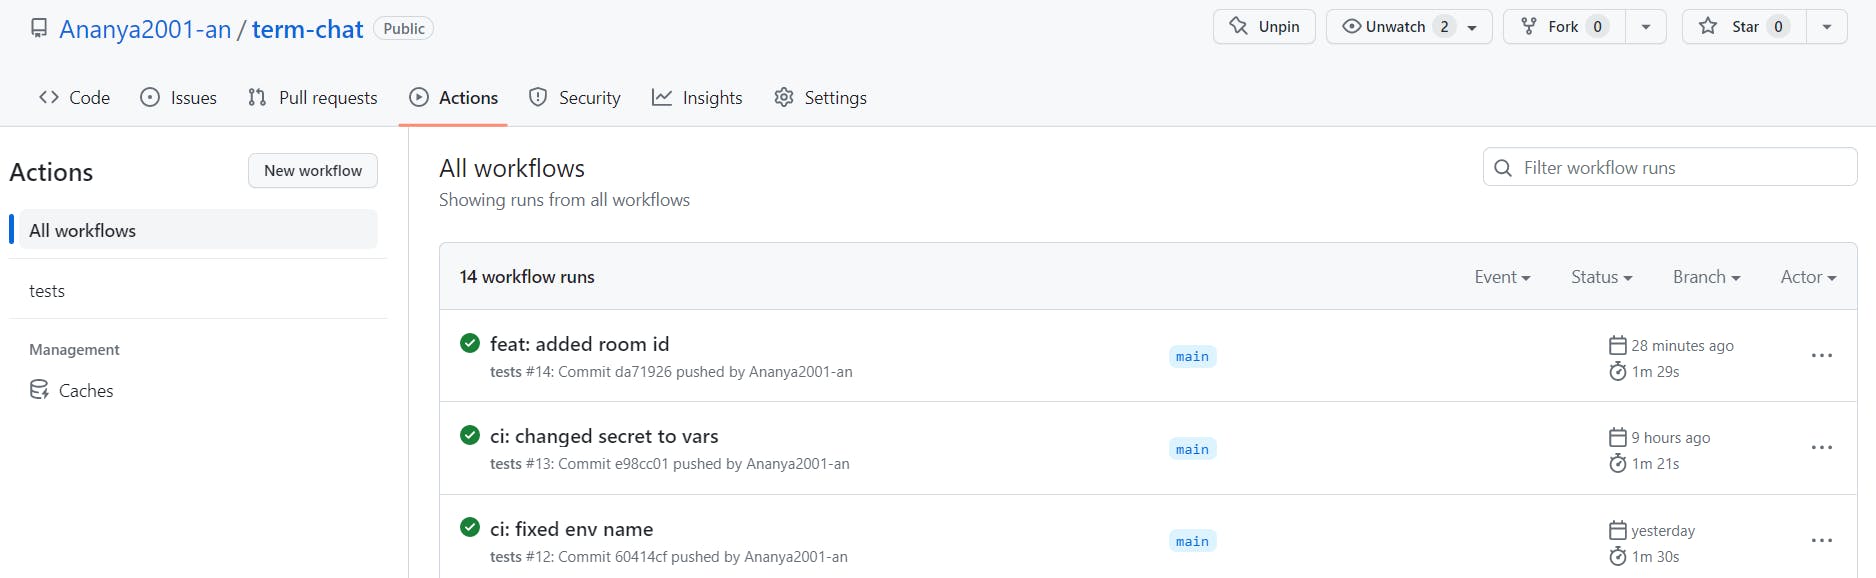
After creating the commands for the chat app, it was important to have a way to test them, especially when making future code changes. To achieve this, I implemented end-to-end (e2e) tests using "pytest". Additionally, I created a Github Action workflow file that runs these tests automatically on every new push or pull request. If you plan to use the Github Action, don't forget to add your environment variables as secrets or variables in the repository settings.
Currently, I'm manually managing releases, but I'm considering automating the process using GitHub Actions (GHA) as well.
I also made sure to write clear and descriptive commit messages (following commit conventions). This practice helps greatly when going through the project's history, making it easier to understand and navigate.
Another important tip when working on any new project is to focus on reducing redundancy in your code. It's essential to maintain a well-structured codebase and consider adding type hints where necessary. It can greatly enhance code readability and help catch potential errors early on. By minimizing redundancy and using appropriate types, you can improve the overall quality and maintainability of your code.
Lastly, it's important to follow good coding practices, such as adding linting checks. You can use a tool like pre-commit to automatically install and run formatting tools like "black" for code style, "flake8" for linting, and "isort" to organize import statements before you make a commit (these 3 are used heavily in Python projects). It's also a great idea to include this as a step in your GitHub Actions workflow to make sure the code style is not violated at any point.
Challenges I faced ⛰️
I needed to make real-time chat functionality work, but I encountered a problem: the server SDK I was using didn't have a built-in subscribe feature. To overcome this, I created my own subscribe function that listens for updates made to a specific document. I implemented it using background threading and continuously made API calls to the get_document function to check for the latest changes. Although the current approach may not be very efficient, I have plans to improve its performance in the future. One possible enhancement would be to utilize Appwrite cloud functions to send the updated changes made to the document to a server whenever a new event is triggered. This way, the app can operate more smoothly and efficiently by ensuring that the latest changes are promptly synced with the server.
Source code 🐙
Below is the link to the GitHub repository where you can go and see the source code. Feel free to raise any issues or make any suggestions that you have for this project :)
source code for term-chat (on GitHub)
There are still many improvements that can be made to term-chat in the future like maybe adding a way to not only send messages but media files in the command line, emojis, etc...
Final thoughts

Thanks to this hackathon I was able to build something cool in such a short period.... moreover, I got to learn about using Appwrite for the first time so definitely going to use it more in the future 💖
Thanks for reading till the end 😄