CI/CD With Azure DevOps
Learn how to deploy a simple express app to an Azure VM using Azure DevOps (Azure Pipelines)


Cloud computing is an integral part of DevOps and getting familiar with one of the most famous cloud services like "Azure" can be helpful in your cloud journey.
If you are a student then you can apply for the Azure for Students plan to get 100$ free credits.
So for this tutorial, we are going to do the following things:
Create a simple express app and host the code on GitHub. Later we will import this code to Azure repos in our Azure DevOps project.
Create an Azure Virtual Machine (VM) where we will host our app. We will use the Nginx web server as our reverse proxy to handle incoming requests to our express web app running on some port like 3000.
We will set up an environment that will hold the above-mentioned VM resource. In our pipeline code, we are going to mention this environment.
We will create a simple pipeline that will help us deploy our code changes to our Azure VM. It will get triggered when changes are pushed to the main branch.
Let's start then :)
Azure DevOps
It's a SaaS platform for DevOps processes provided by Microsoft. You can handle all your work processes, CI/CD, issue tracking and more for your project in one place instead of using different platforms like GitHub for code hosting, Jenkins for CI/CD and AWS for cloud.
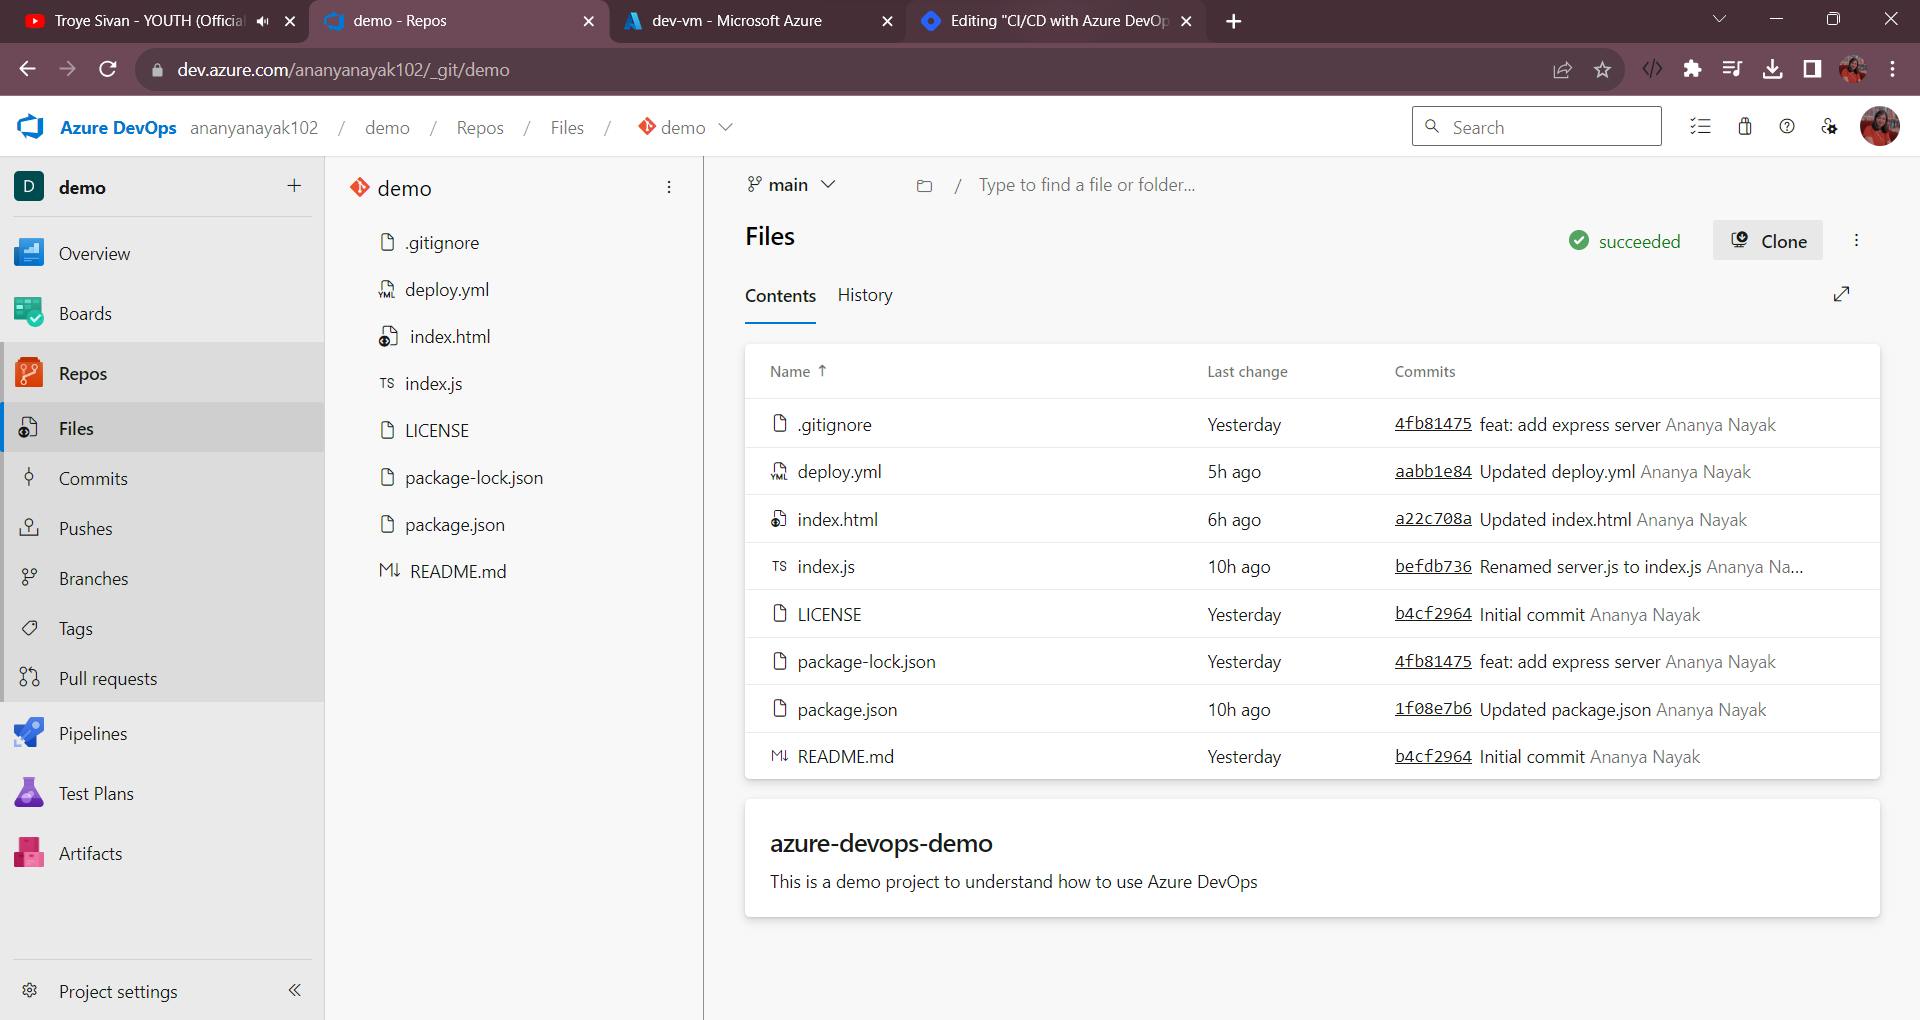
You can simply create a new project and import code from some existing git repo.

After importing code from your external git repo, the Azure repos page for your project would look something like this:
You can find the code sample that I have used here.
Setting up Azure VM and Nginx config
Now we will spin up our VM which is a computing service provided by Microsoft Azure. You can also initialize your VM with some initial commands (script) using "cloud init".
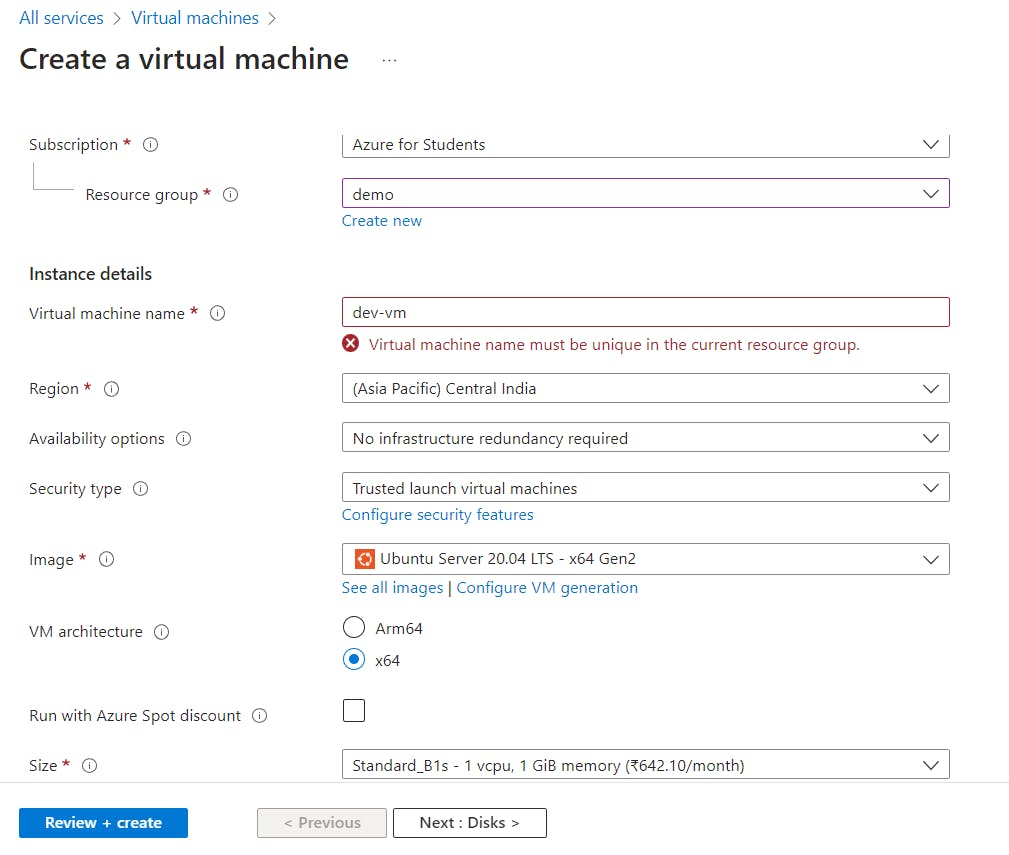
Some things that you have to keep in mind while creating your VM:
Create a resource group which is a group of resources linked to some project. Like VMs, Load Balancers etc.
Choose a region and size of your VM. Here I have taken the standard B1s which is enough for this project.
The VM image is Linux.
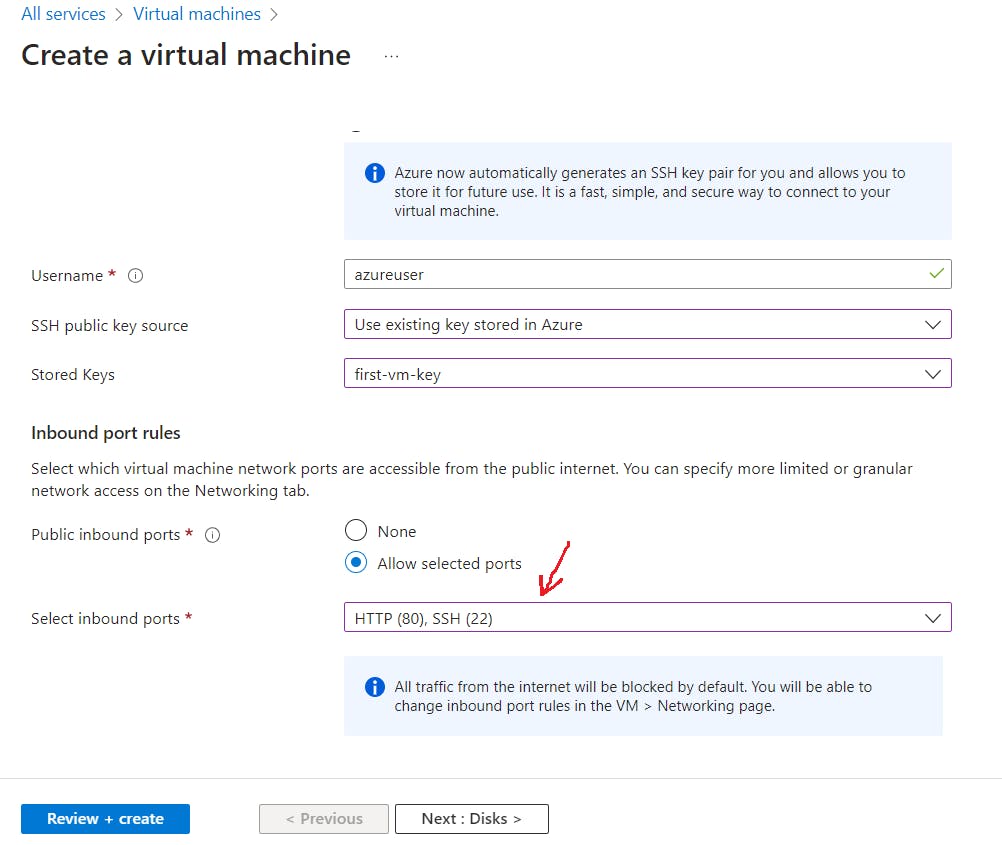
To SSH into our VM we will need a private SSH key, so make sure to create it or maybe use an existing one. If you have created a new key it will give you the private key for download so keep it safe.
Also, make sure to create 2 public inbound ports for HTTP (80) and SSH (22).
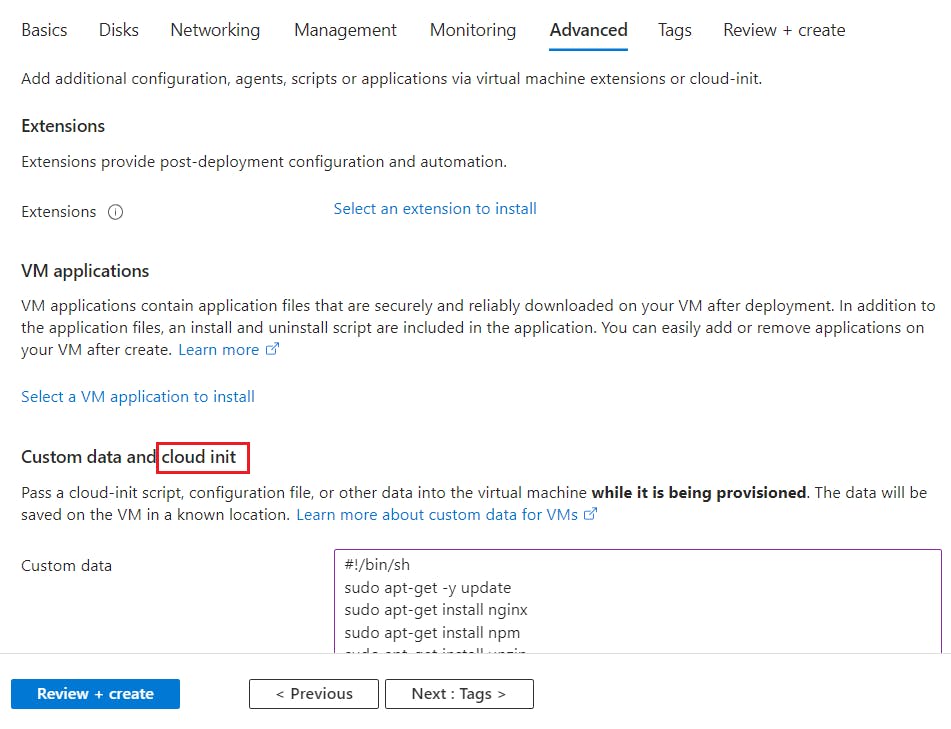
Later in the advanced tab, you can add some script (cloud init) like maybe running some install commands.
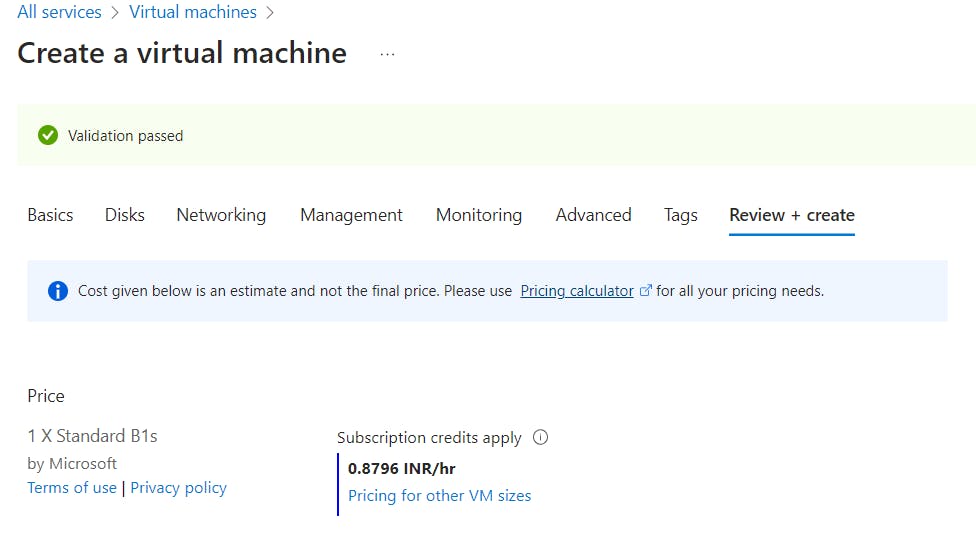
Once you click "review+create" you will get a green check saying the validation has passed and hence you can create your VM.
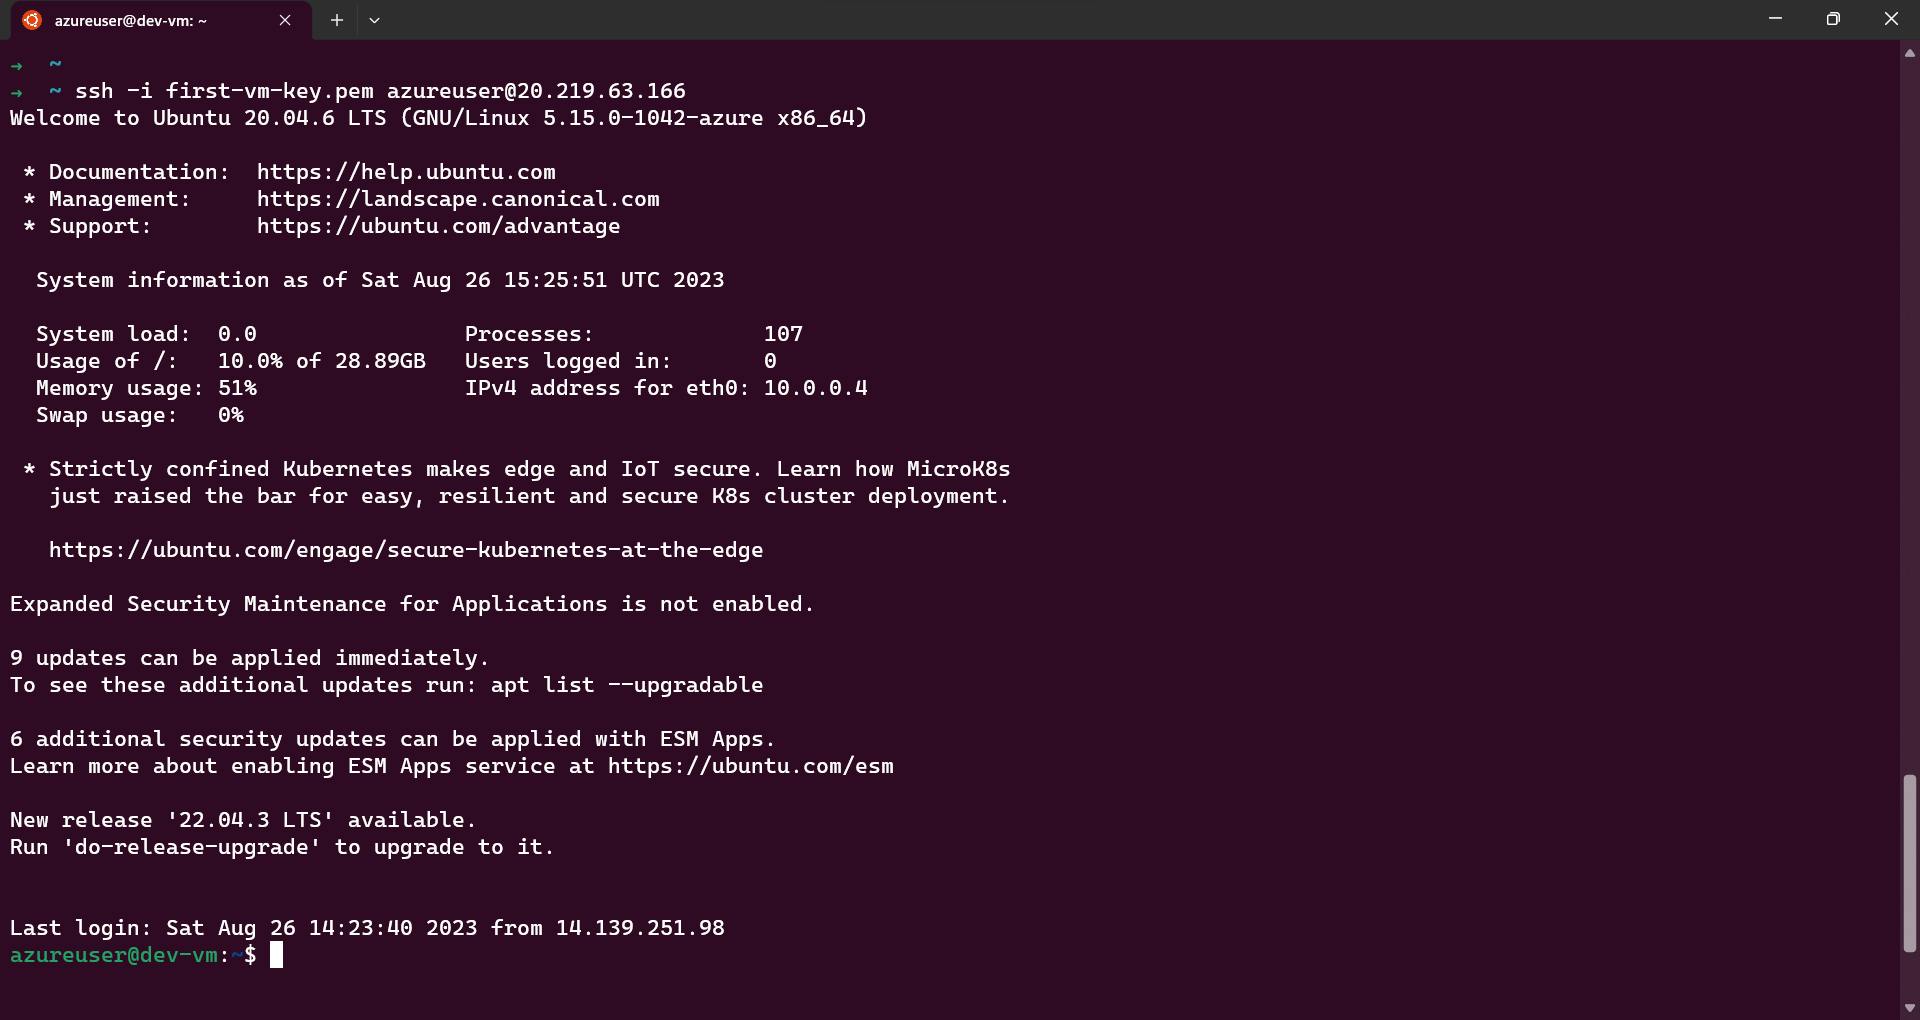
Let's SSH into our VM and set up the Nginx config now.
ssh -i <ssh-private-key-path> <username>@<public-ip-of-VM>
# for example ssh -i first-vm-key.pem azureuser@20.219.63.166
Now you should run the below commands to create a config file for our nginx web server.
cd /etc/nginx/sites-available/
vim myapp_config # name it anything you want
Inside the myapp_config file copy-paste this configuration:
server {
    listen 80;
    server_name 20.219.63.166; # Change this to your domain or VM's IP

    location / {
        proxy_pass http://127.0.0.1:3000;  # Change the port if your app runs on a different port
        proxy_set_header Host $host;
        proxy_set_header X-Real-IP $remote_addr;
        proxy_set_header X-Forwarded-For $proxy_add_x_forwarded_for;
        proxy_set_header X-Forwarded-Proto $scheme;
    }
}
Now run the given below commands to add a symbolic link to this config file from the "sites-enabled" dir:
cd /etc/nginx/sites-enabled/
sudo ln -s /etc/nginx/sites-available/myapp_config /etc/nginx/sites-enabled/
Now if you open the VM's public IP in a browser you will see something like this:
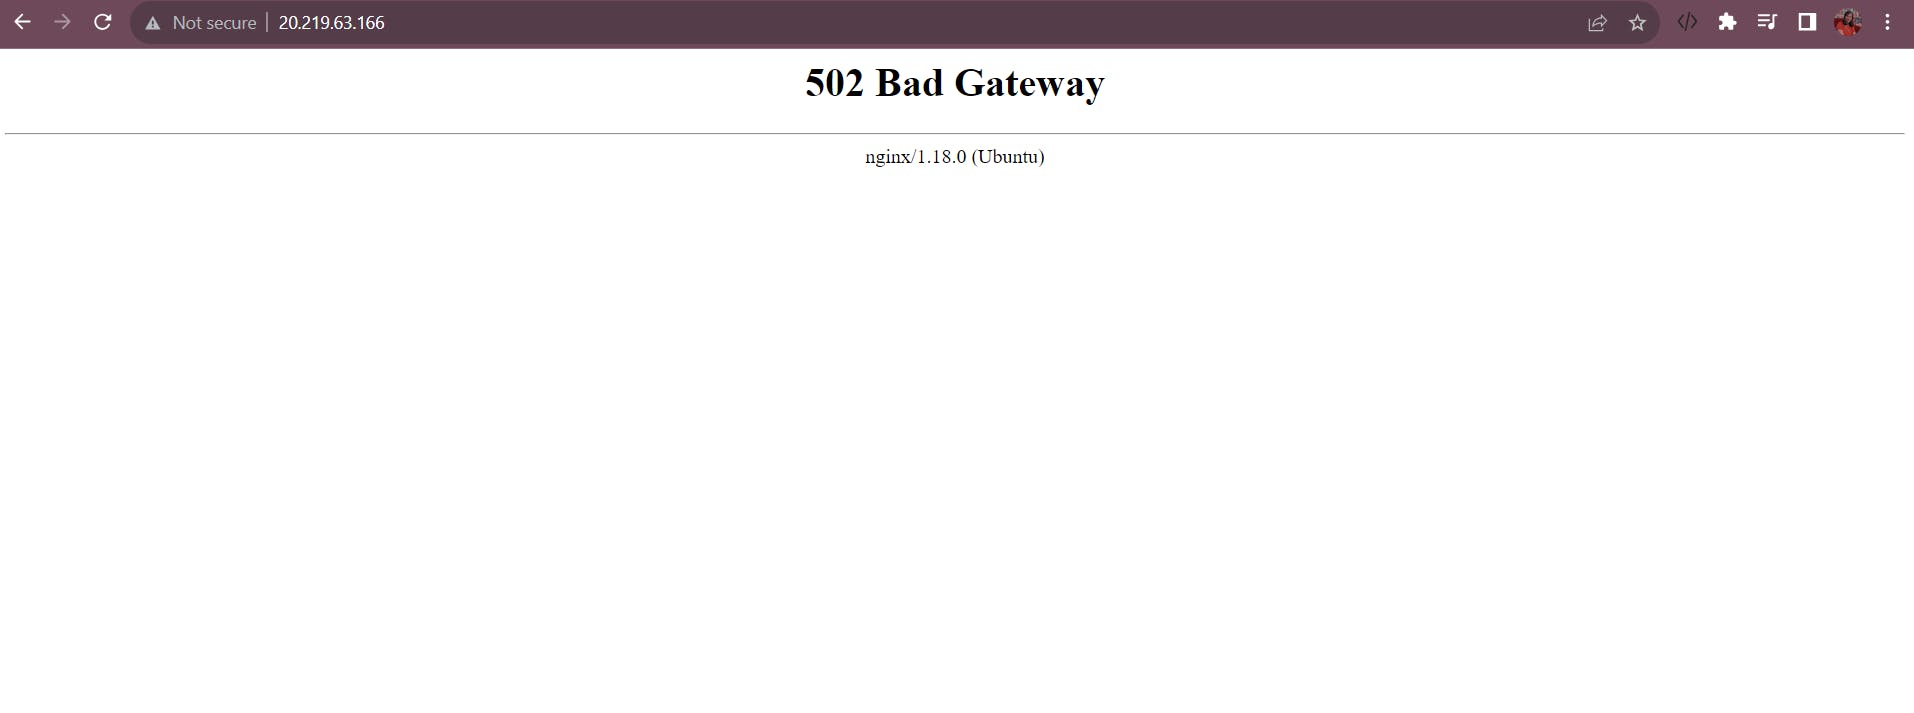
We can see some messages from the Nginx server which is not bad.....but we don't have our express app running yet. Let's work on that next!
Azure Pipelines (CI/CD)
Azure Pipelines is a cloud-based solution by Microsoft that automatically builds and tests code projects. Azure Pipelines combines continuous integration (CI) and continuous delivery (CD) to test, build, and deliver code to any destination. In our case, we would like to push our code changes to the VM every time we make some changes. We will create a yaml file for the same and call it deploy.yml . Below is the code:
trigger:
- main

pool:
  vmImage: 'ubuntu-latest'

variables:
  environmentName: 'dev'

stages:
- stage: Artifact
  displayName: Artifact Stage
  jobs:
  - job: Create_ZIP_artifact
    displayName: Create ZIP artifact
    steps:
    - task: ArchiveFiles@2
      displayName: 'Archive files'
      inputs:
        rootFolderOrFile: '$(System.DefaultWorkingDirectory)'
        includeRootFolder: false
        archiveType: zip
        archiveFile: $(Build.ArtifactStagingDirectory)/$(Build.BuildId).zip
        replaceExistingArchive: true
    - upload: $(Build.ArtifactStagingDirectory)/$(Build.BuildId).zip
      artifact: drop

# NGINX web server will behave as a reverse proxy to direct http requests to our express web app on port 3000. We have already created a config file for the same.
- stage: Deploy
  displayName: Deploy Stage
  jobs:
  - deployment: VMDeploy
    displayName: Web deploy
    environment:
      name: $(environmentName)
      resourceName: 'dev-vm'
      resourceType: VirtualMachine
    strategy:
      runOnce:
        deploy:
          steps:
          - task: Bash@3
            inputs:
              targetType: 'inline'
              script: |
                echo Deployment has started 🚀
                unzip -o '$(Pipeline.Workspace)/drop/*.zip' -d '/home/azureuser/myapp'
        on:
          failure:
            steps:
            - script: echo Deployment failed!!!
          success:
            steps:
            - script: echo Deployment successful!!!
Let's understand each of these keywords:
trigger -> This refers to the triggering point for our pipeline. Here we want to run this on every push made to the main branch.
pool -> Refers to the resource agents for running our pipeline steps. We are using Ubuntu image here.
variables -> Handy in reusing values
stages -> Stages run one after another. Like build should finish first before the deployment stage.
jobs -> They run in parallel. Like maybe you have a job to perform some lint tests and also some other tests then you can have them as separate jobs to run them in parallel to increase efficiency.
steps -> These are the smallest building blocks of a pipeline. They define a script or a task which is a pre-written script that you can use for yourself.
So as you can see from the pipeline we are creating a zip artifact and then downloading this artifact inside the destination source. For this, we are using a special deployment job and specifying the environment where we have our VM resource "dev-vm". Now to be able to access this environment and thus the VM we need to create one first. So make sure to do these below steps before you commit the deploy.yml file to your repo, otherwise, the pipeline run will fail.
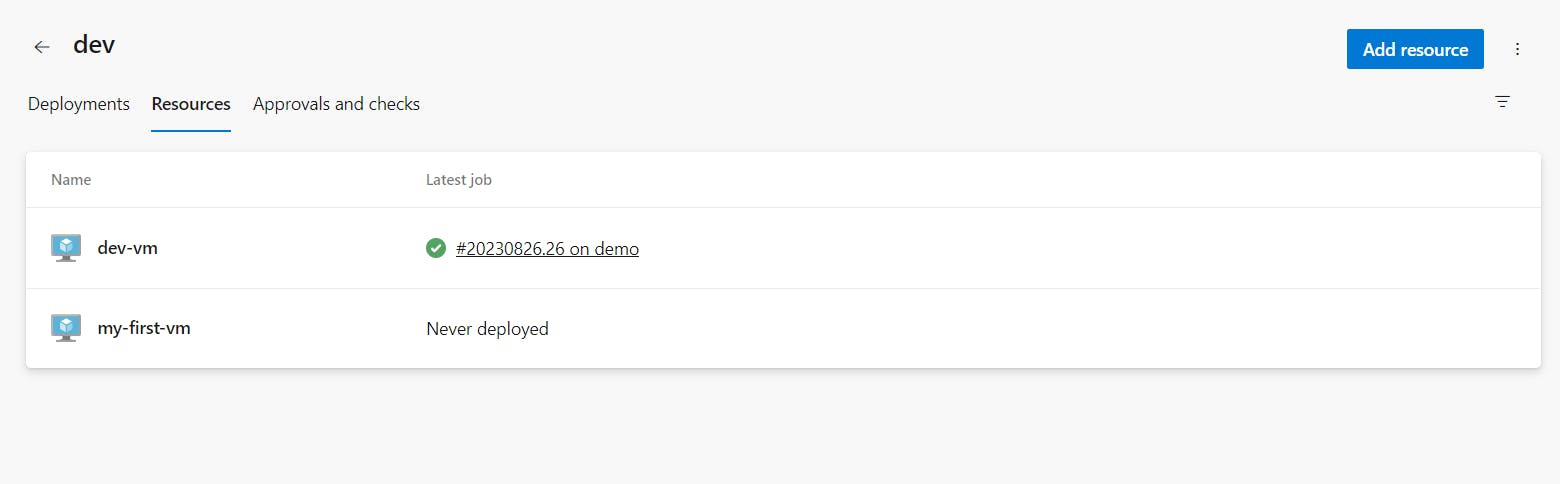
You can head over to the "Environments" tab in Pipelines inside your Azure DevOps project. Now create an environment let's say "dev". For example, for a big-scale project, you might have different environments like dev, testing, and prod before you can finally release to production. Inside this environment, you can add a VM resource.

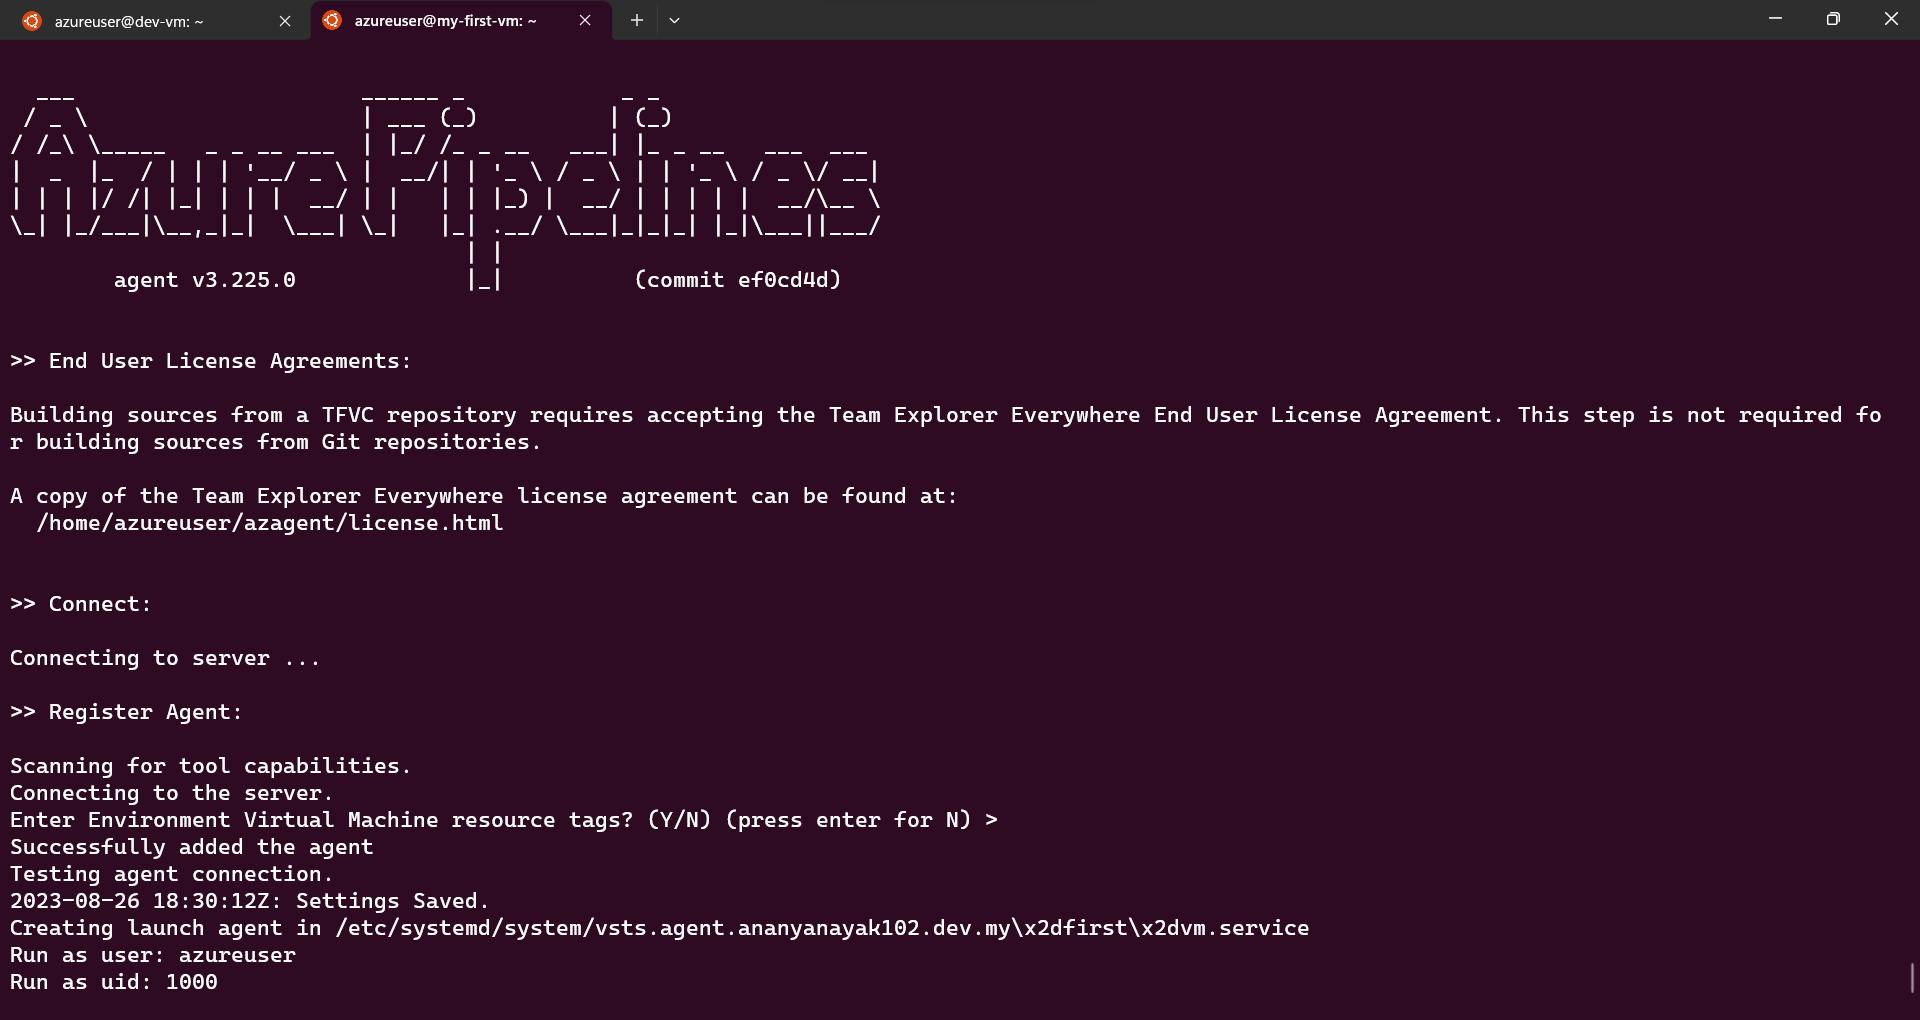
Now we can copy the above-pointed (with red arrow) script and run it inside our "dev-vm" that we have already created to link it as a resource for this environment in Azure pipelines. So after doing SSH into the VM run this script and if it's successful you will see something like this;
Cool now we can finally commit our pipeline script and see it in action!
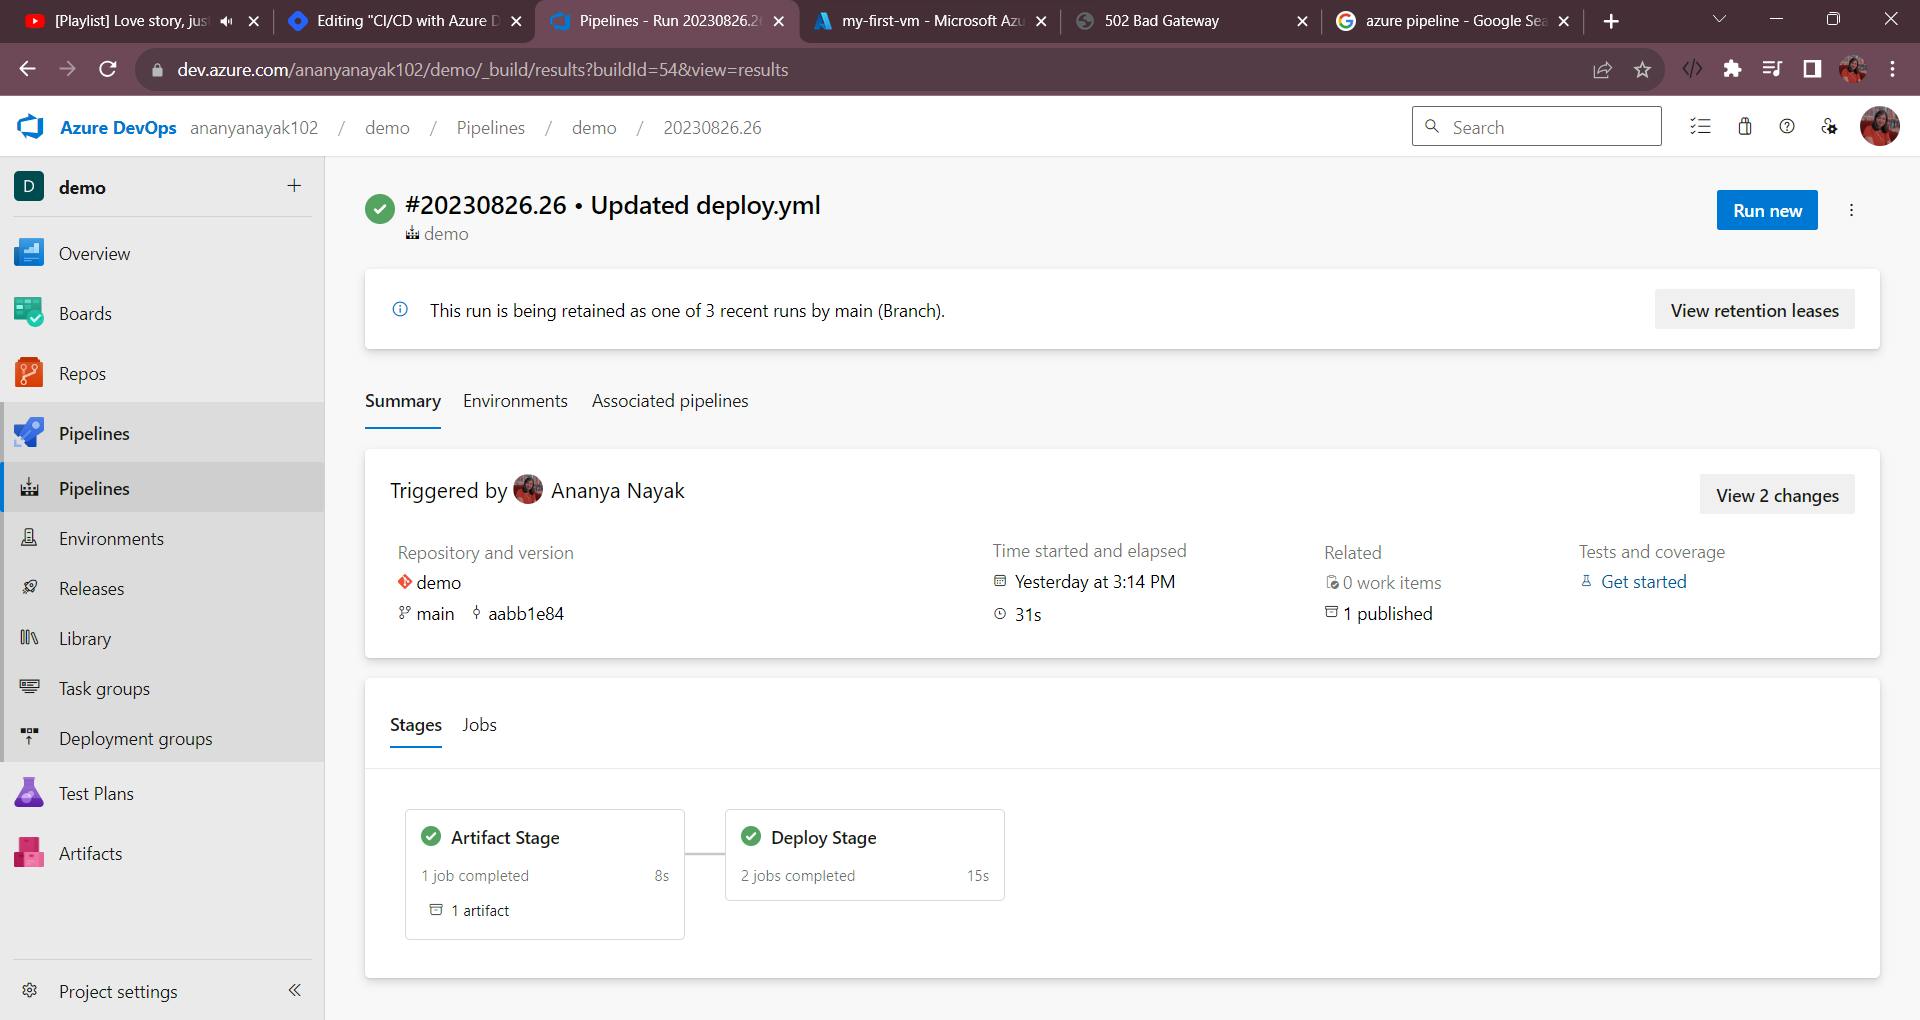
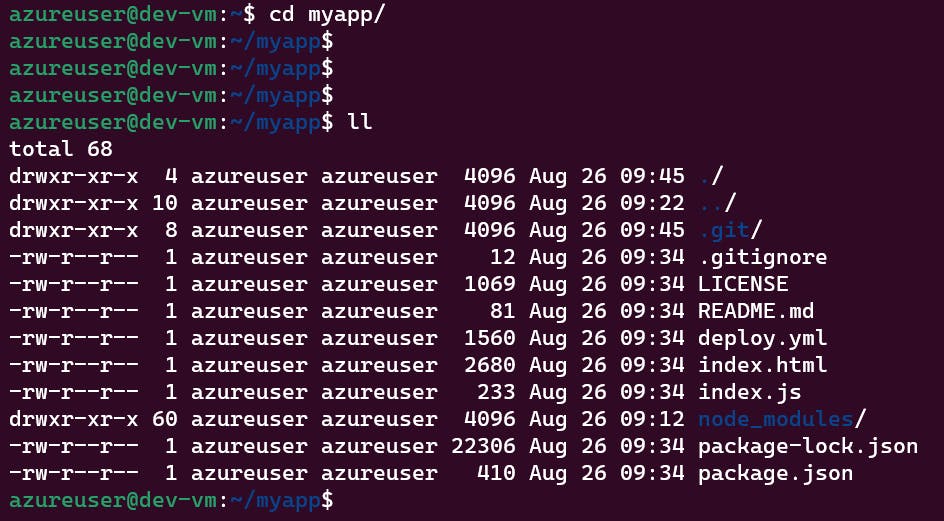
Both of our stages have ended successfully and now we can see the code inside our VM (user's home dir).
Now to run the app manually you can run npm install and then npm start but a better way would be to use something like "pm2" which would keep the process running even if we are disconnected from the VM.
PM2 is a production process manager for Node.js applications with a built-in load balancer. It allows you to keep applications alive forever, to reload them without downtime and to facilitate common system admin tasks.
So you can start the express app like this:
cd myapp
sudo npm install -g pm2
pm2 start index.js

Now if you navigate to your VM's public IP back again you would be able to see the app running.
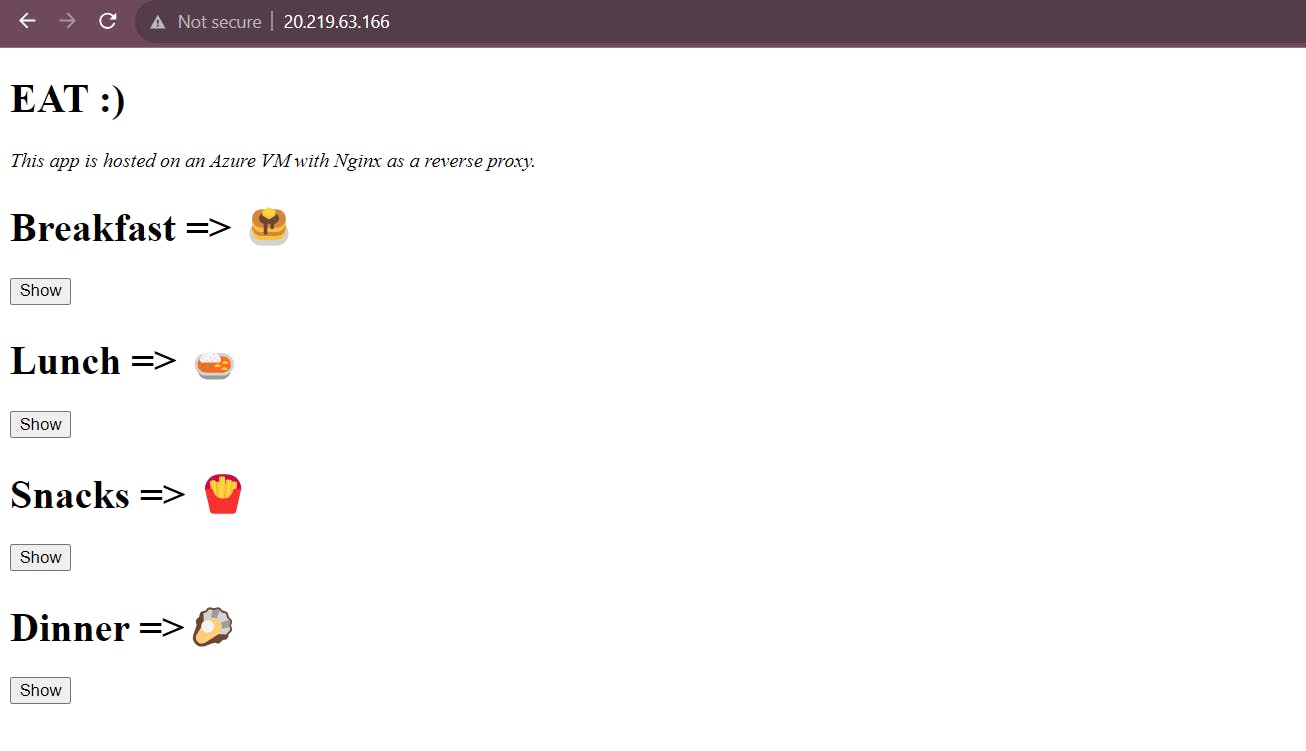
Hurray! Now you can see a simple website hosted on your Azure VM 😃

You have reached the end of this article. I hope you were able to get a basic understanding of Azure VMs and Azure DevOps with this simple project :) Cloud is interesting and knowing about famous cloud services provided by one of the world's biggest cloud providers like AWS, GCP and Azure can be really helpful for you in the long run!